That’s right, I said “all by yourself”, because who wants to hear “How much is this going to cost us?”, “Seriously? C’mon, football is on.”, and my personal favorite…
“What’s wrong with our laundry room?”
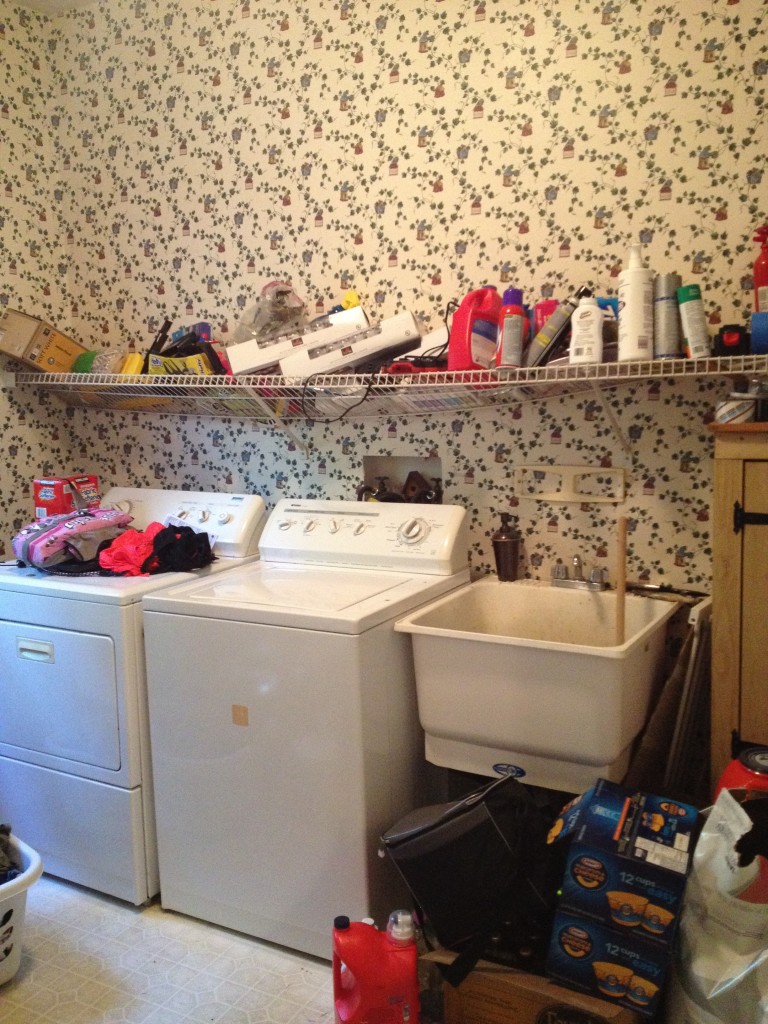
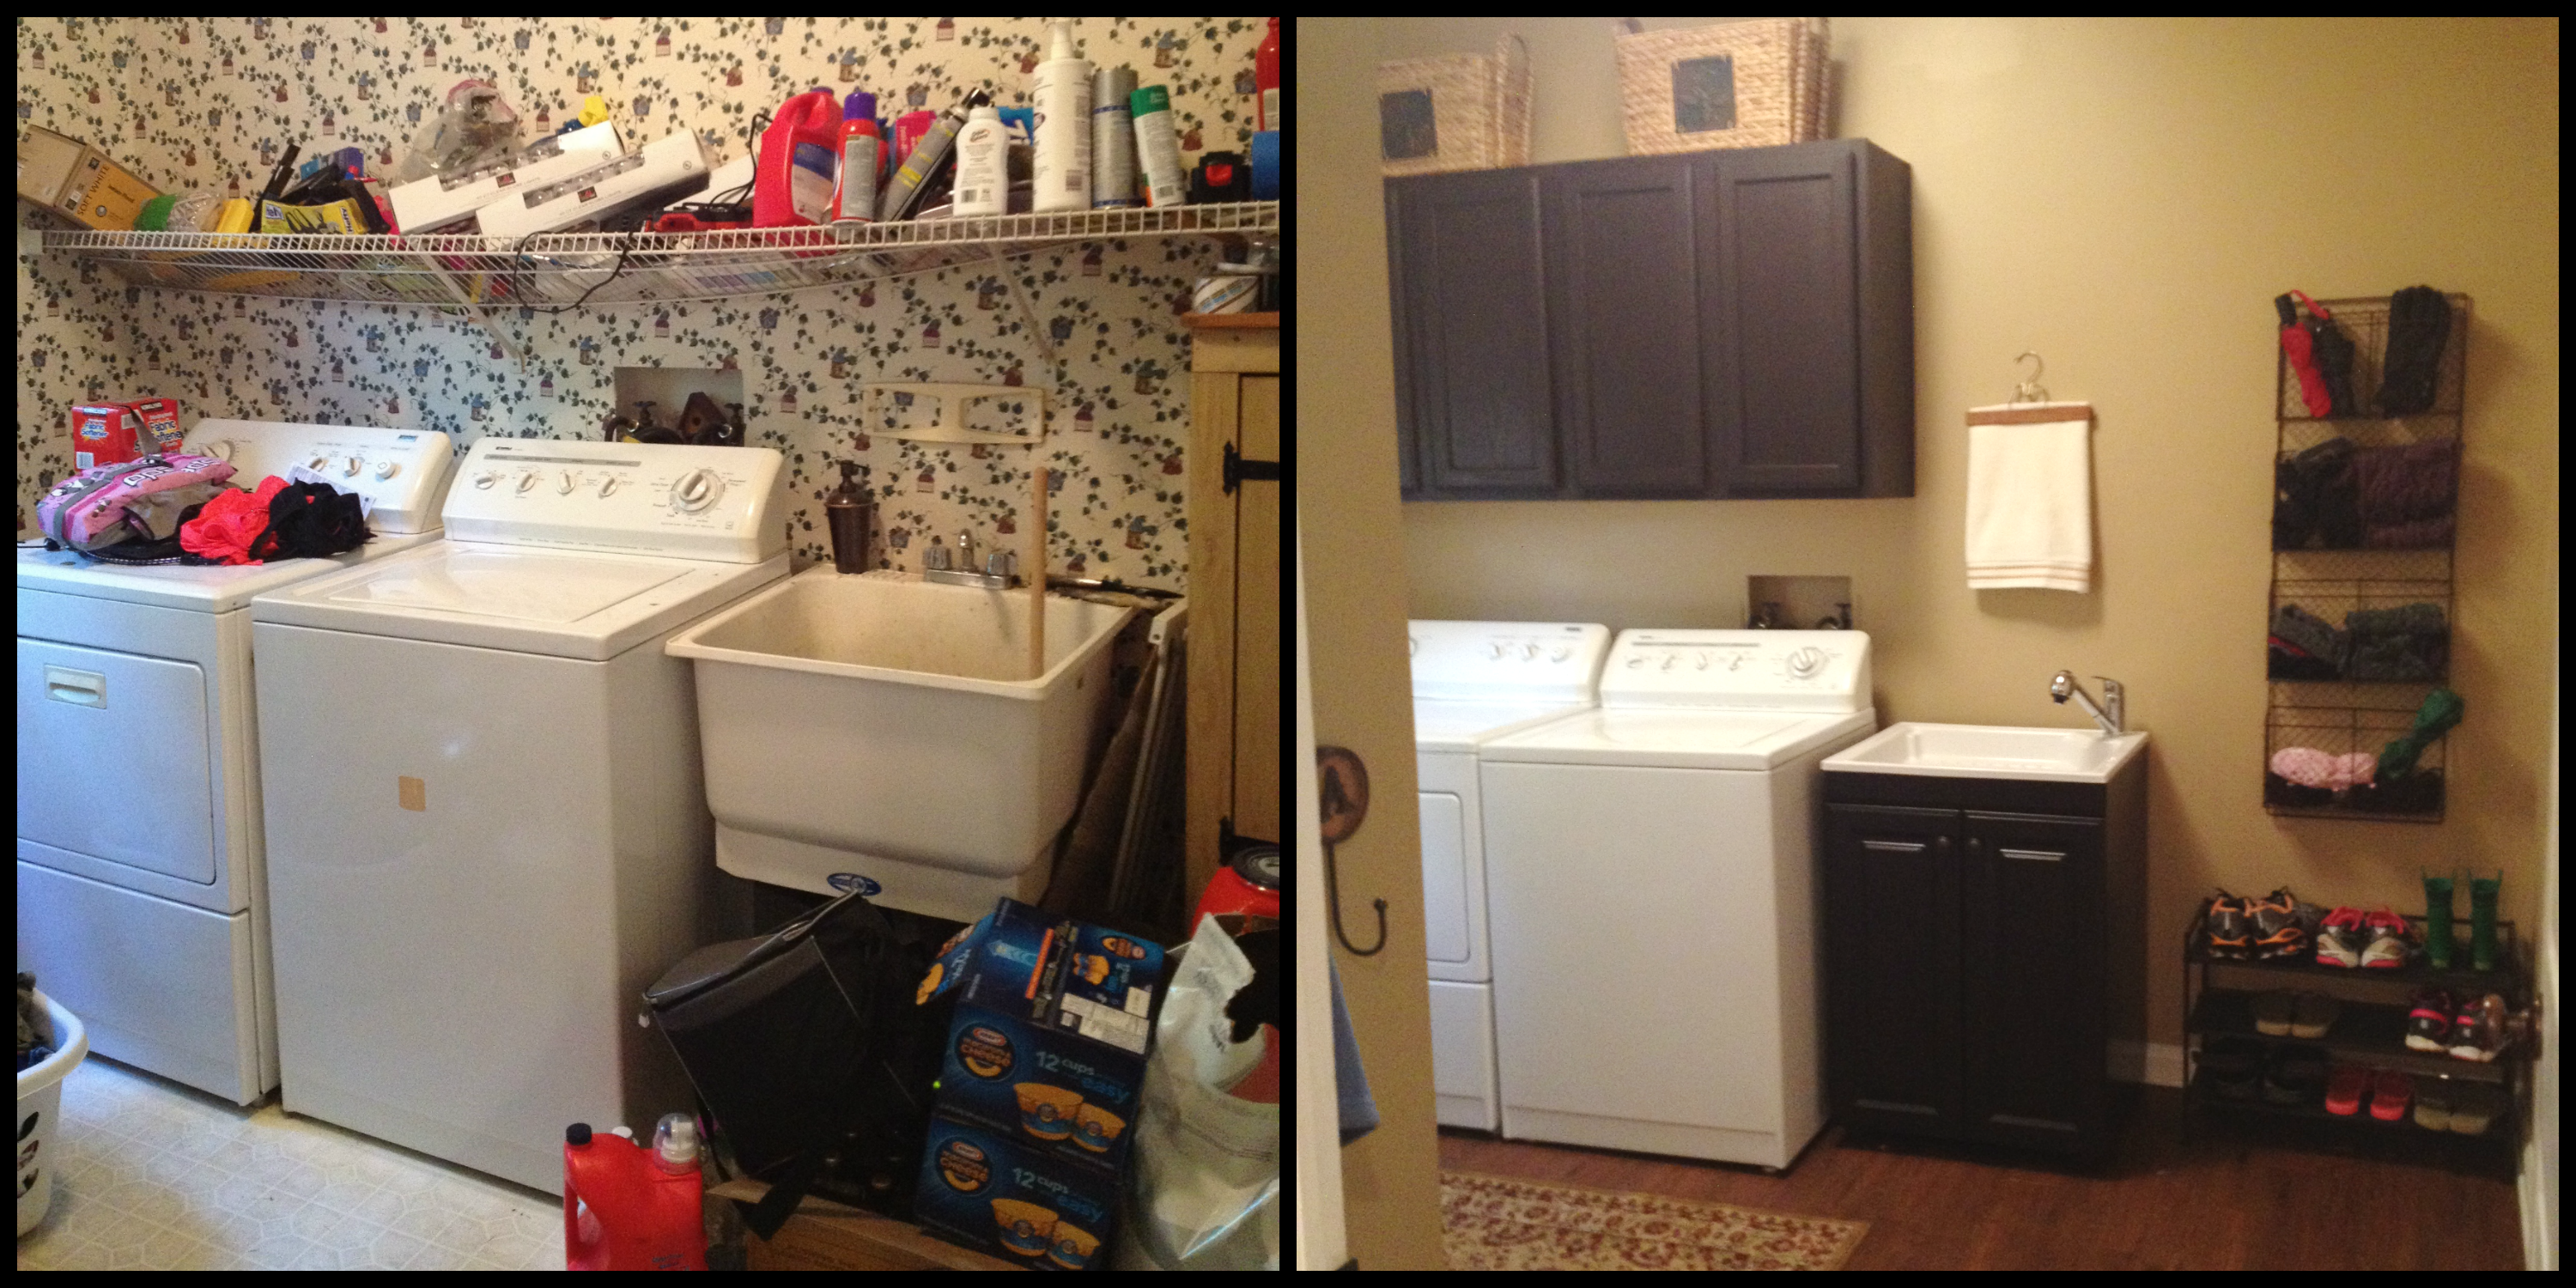
No, Brian. What’s right with our laundry room? The shelving has collapsed, the wallpaper is a threat to anyone who suffers from seizures, and the floor & sink are stained beyond the powers of bleach.
This called for a major overhaul.
*The photo above was our actual laundry room, designed by the previous owners and filled with crap by us.
Step 1 – Empty the room
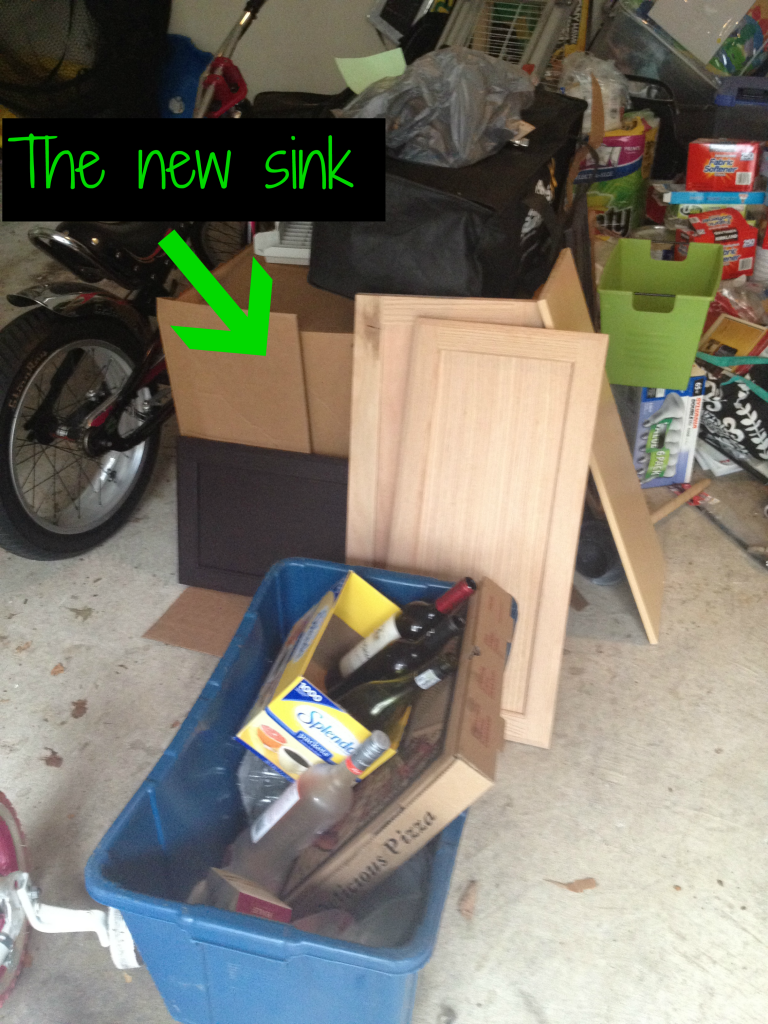
The first thing you need to do is empty the whole laundry room (except the washer & dryer) and arrange everything into a huge pile in your garage. This pile will hide all of your purchases until it’s time to renovate (Brian gets twitchy if he sees the tangible evidence of money spent).
I hid a new utility sink, complete with espresso cabinet, in our garage for two weeks. He walked around it everyday, completely oblivious.
Step 2: Paint the room
If you have wallpaper, remove it. But do yourself a favor and rent a wallpaper steamer from a local hardware store. That DIFF stuff can kiss my ass. Luckily for me, our wallpaper peeled off like ugly gift wrapping paper. Even it knew it was time to go.
Spackle/repair any holes.
Paint all of the walls except for the area behind the washer & dryer (we’ll do that later). Then paint the trim and baseboards.
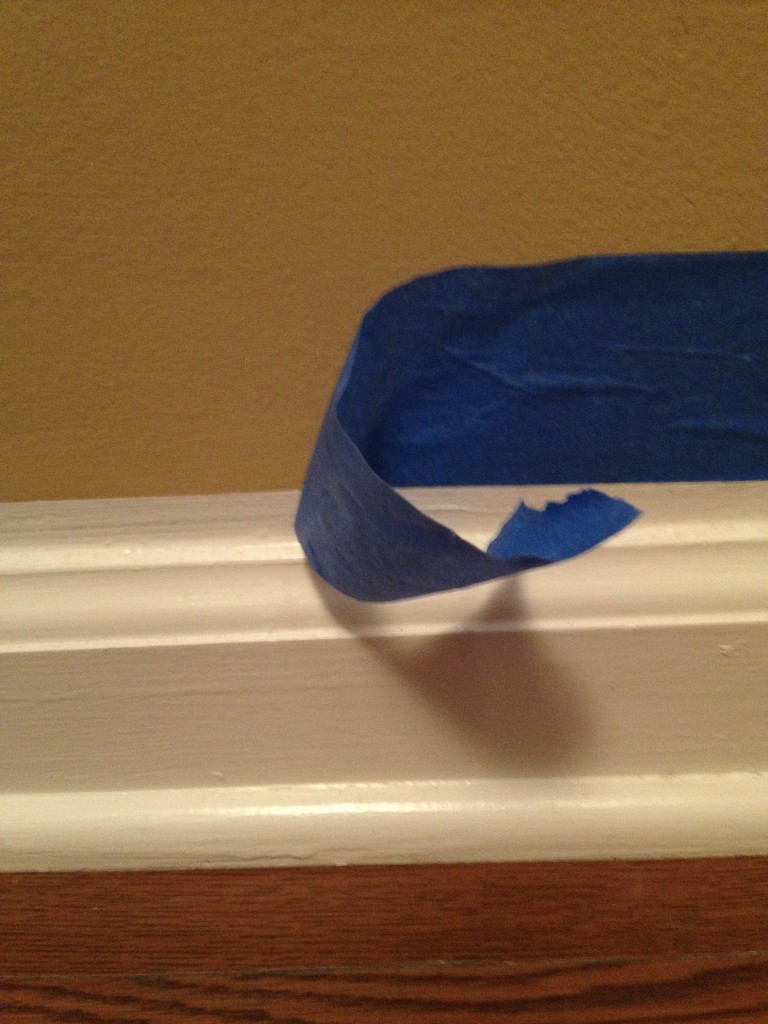
-Here’s a baseboard tip:
When your wall paint is dry, run a thin bead of paintable caulk where the baseboard meets the wall, smoothing it with your finger. Once the caulk dries, take painter’s tape and tape about 1/2 inch ABOVE the baseboard.
Paint the baseboard and the area above the baseboard.
This creates a clean look and makes your baseboards appear chunkier and classier!
Step 3: Floors
Before installing the floors, you’ll need to move the washer and dryer out of the room. Don’t worry, this was surprisingly simple *If you have a gas dryer, I’m clueless and you’re on your own.
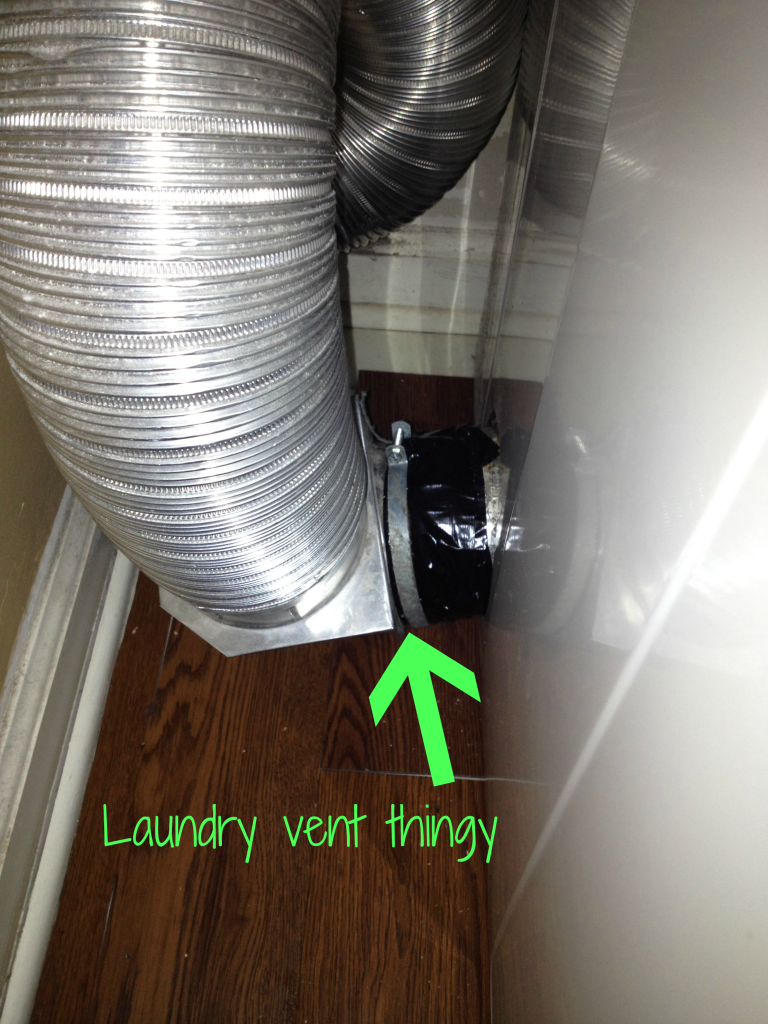
Unplug the dryer and separate the air vent thingy from the wall. It’s usually held together by a simple clamp.
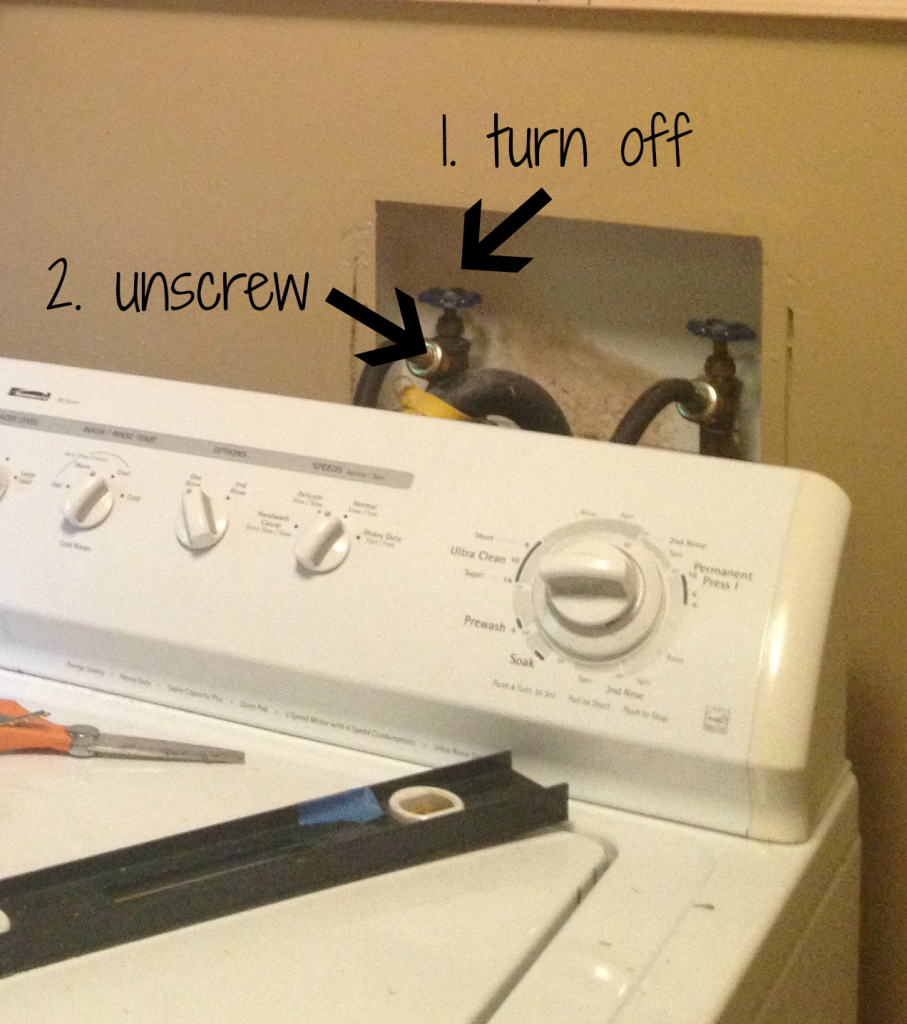
Then turn off the water to the washer and unscrew the hoses. This is exactly like taking a yard hose off, but indoors.
And don’t forget to unhook the drain hose (the hose that empties the dirty water). That’s usually held in place by a simple clamp too, like the dryer vent thingy.
Next, put those moving discs under the washer and dryer and push them to where they won’t be in your way. I parked mine in front of the stove.
I hope you kept your paint can out because now’s the time to paint the wall behind the washer & dryer.
Ok…the floors…
It was important to me to do this on my own and on a budget, so I decided to use Peel & Stick floor tiles. After doing some research and reading a ton of reviews, I purchased a Peel & Stick faux hardwood floor that looks soooo real and was only .98 cents per sq foot! Plus it could be applied directly to my old floor!
It’s by Style Selection and can be found at Lowes. Here’s the description:
Style Selections 4-in W x 36-in L Oak Luxury Vinyl Plank
4-in W x 36-in L Oak Luxury Vinyl Plank
- Realistic wood design and texture
- More resilient than wood or laminate, with stain and scratch resistance
- Easy to install in 3 simple steps with a fast peel-and-stick application
- Perfect in high-traffic areas
*Read the instructions for the flooring you choose. My peel & stick only required me to wash the old floor with soap & water. Now that’s my kind of prep work!
– Flooring Tip- Cutting around tricky trim.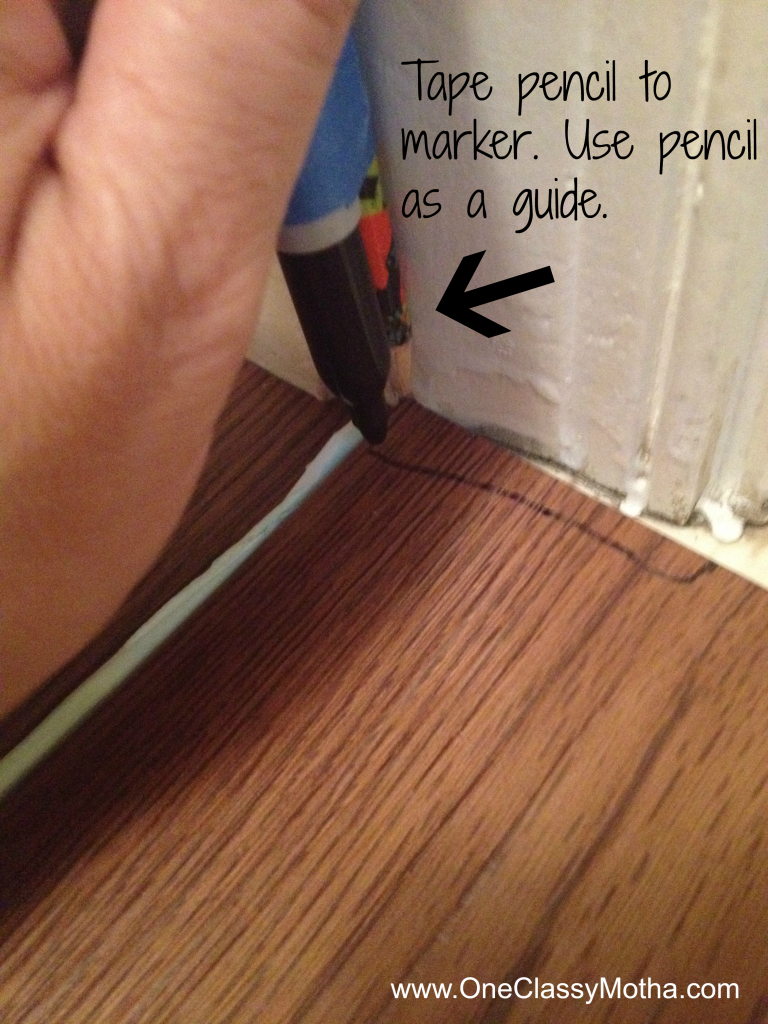
Did I mention that Peel & Stick tile can be cut with scissors?! Easy-peasy!
Once the floor is laid, move the washer & dryer back into the laundry room and hook them back up. Just reverse what you did to unhook them.
Step 4 – Hanging the cabinets
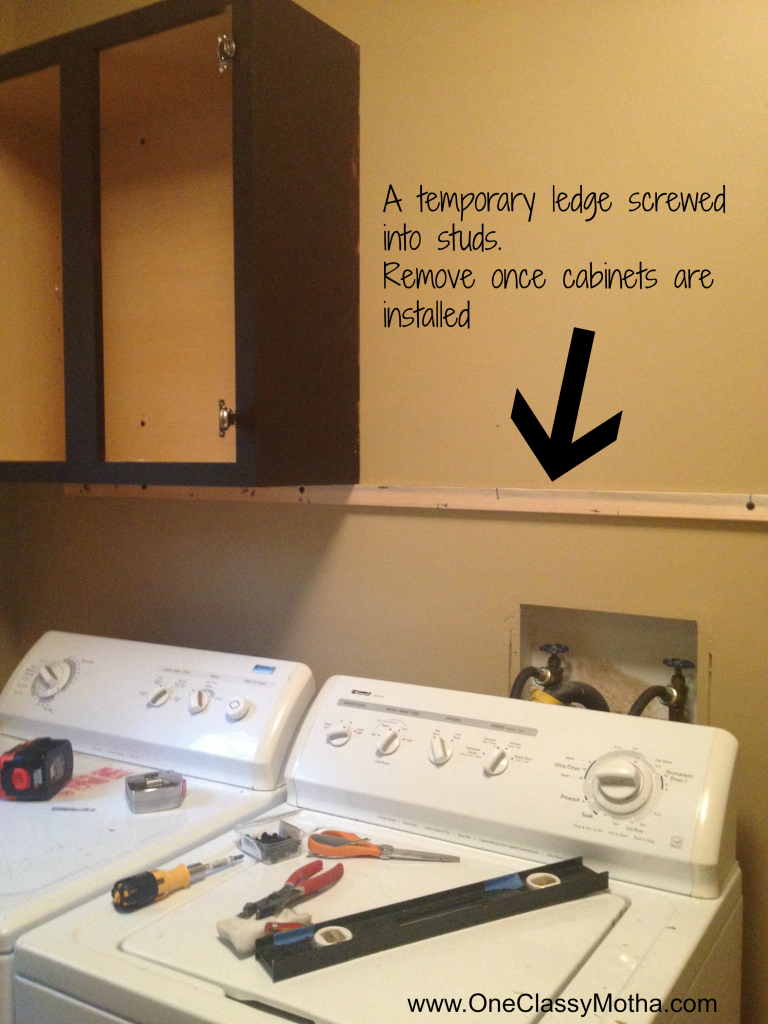
Once you’ve selected your cabinets (to save money, I purchased ready-to-finish cabinets at Lowes & painted them), you’ll probably wonder how the hell you’re going to hang them on your own. You build a ledge! No, you’re not jumping off.
Buy a 1×2 piece of wood that’s the length of (or longer than) your cabinets. Using a level, screw it into the studs. Prop the cabinet onto the ledge, hold it in place with one hand (or your shoulder) and screw it into the wall with the other.
Remove the ledge and repair screw holes…or don’t, I don’t really care.
Step 5 – Lighting
Turn on your ceiling light, then go to your junction box and turn off the power to the laundry room. If the ceiling light is off when you come back then you know you hit the right breaker. BUT DOUBLE CHECK it by flipping the light switch up & down. You never know, I’m sure there’s someone that’d like to see you electrocuted.
Remove old lighting by unhooking the wires (red, black, & copper). Following the instructions to install your new light (hooking red to red, black to black, & copper to copper or copper to screw). *The copper wire is sometimes referred to as the ground wire.
Step 6 – Decorate!
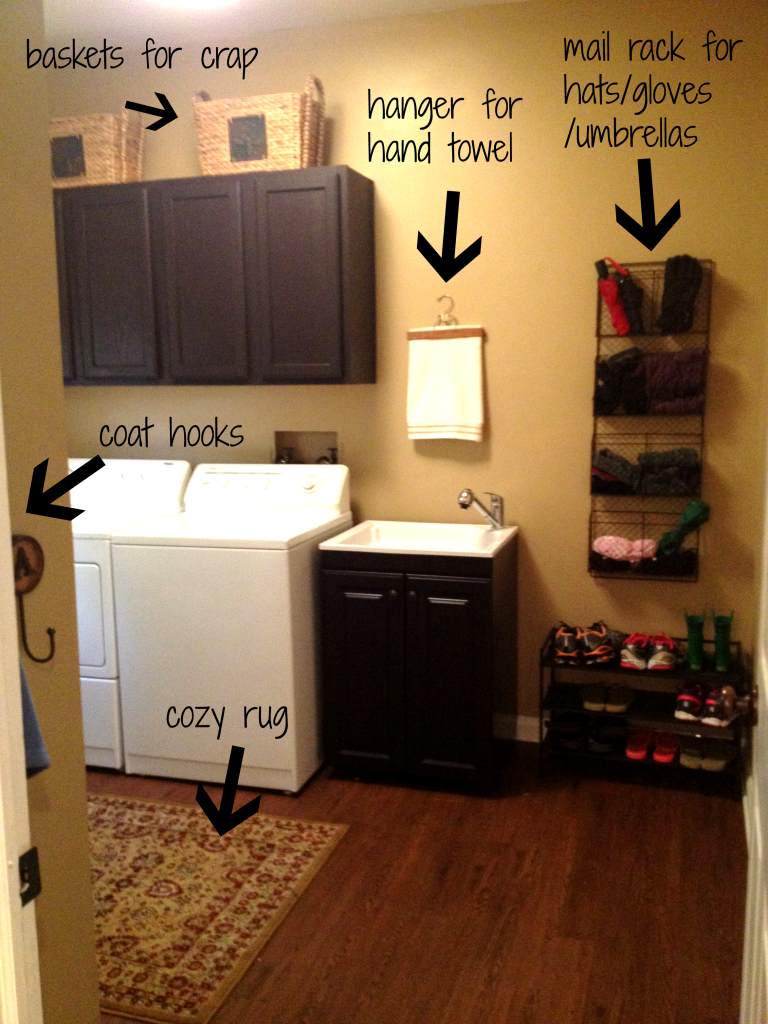
I got halfway through step 6 before Brian received the credit card bill and begged me to stop. So here’s what I have so far:
I’m pretty sure I bought everything from Marshall’s. And if you’ve read this, then you know I love me some Marshall’s!
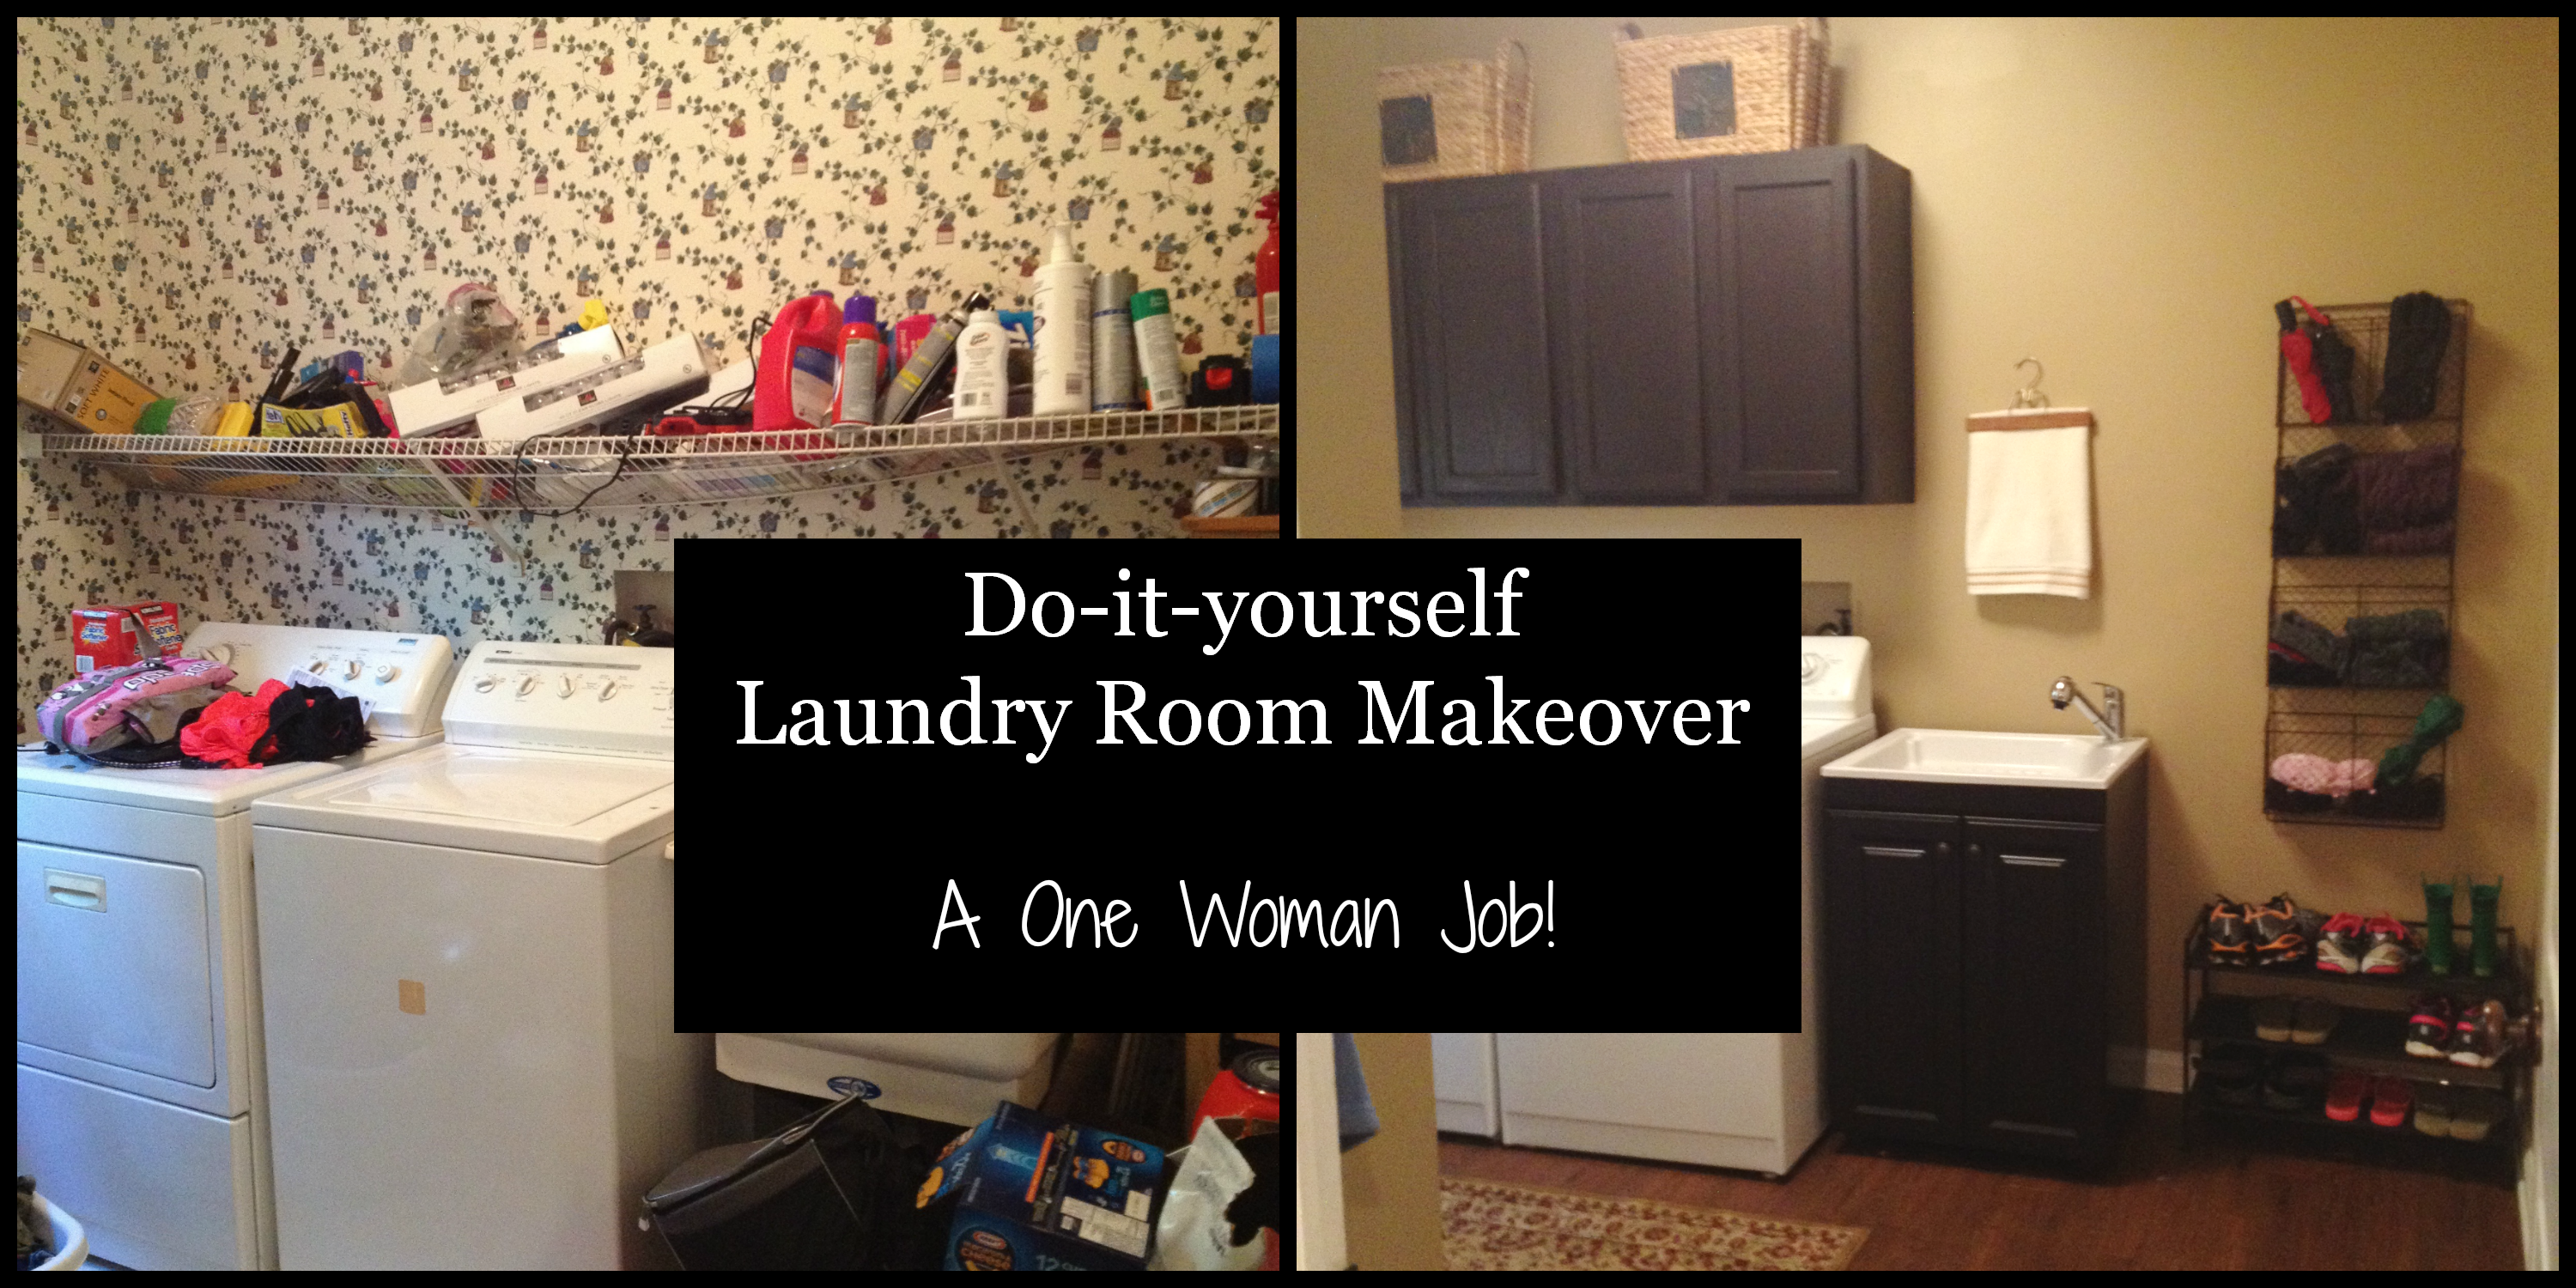
I present to you, the before & after…
Ahhh…
Do you have any projects lined up? Shoot me an email if you have any questions about it (but that doesn’t mean I’ll know the answer).


